Showing posts with label crafty. Show all posts

Tuesday, December 23, 2014

Christmas Crafting

It's almost Christmas! This year the girls and I found a really fun and easy craft project. It's probably all over Pinterest but I don't have a Pinterest account, so I feel special. Please don't burst my bubble. :) We decorated mugs and jars with Sharpie paint pens!

Here are some of our tools:


We picked up Sharpie brand paint pens at Home Depot, some scrapbooking letter stickers at Michael's, and plain mugs at the dollar store.


We stuck the stickers on the mugs and jars, and then used the paint pens to draw around them. For the jars, we also put stencil-type simple designs on paper on the inside of the jar, then traced it on the outside.


Once we had the outlines, we filled in the rest of the design. The dots look really cute, or you can color it in, or freehand draw... whatever you want! Once your design is done you bake it to set the design... start with the jars/mugs on a baking sheet in a cold oven. For glass, bake 20 minutes at 300; for ceramic, 30 minutes at 350. Then let it cool and you're all set! I took one to work yesterday with my breakfast in it and washed it afterwards and no paint came off! I think you could probably run it through a dishwasher, but I don't have one (aside from Aaron) so I can't say for sure. :)


Don't they look great?? Super easy and fun!

Wednesday, November 28, 2012

Picture dump

Some November pictures that haven't made it into their own post...

Madness!!
Opening birthday presents at Grandma Jo's house, with help from Dieter cousins


Yum!
Cake pops at Jasper's birthday party (so fun!)


A kitty headband she made at the MIA on Target family day

Riding a camel at the Science Museum

Ella wonders why Maisie is making such a silly face
 Pouty duckface at Jakeeno's

first Girl Scouts troop meeting

first banana split, post-Children's Theater at the Bad Waitress. Ella ended up wearing a lot of it.

yee haw!
 mechanical horse at The Egg & I

crafty painting time

Monday, September 24, 2012

Brief craftiness

Just a quickie today...

I just wanted to promote this awesome crafty project I'm taking part in, along with some people I know through an online forum. Hopefully some of you will be inspired to join us!

We're knitting/crocheting red scarves between now and December 15 for the Red Scarf Project. This is a project of an awesome organization called Foster Care to Success, which helps college students who grew up in foster care. They provide financial assistance, mentoring, and support to these young adults who've already been through so much, to help them land that college degree. They also provide care packages, which is where the Red Scarf Project comes in. Each Valentine's Day care package contains a handmade red scarf. Is that awesome or what??

We thought this seemed like an easy, fun way to support an organization that's doing some really important work. There's no real guidelines other than color (any shade of red, including ombres), size (approx 60" x 5"), and style (unisex). So far I've completed one scarf, and am halfway through another.

I will keep you posted on my progress. And I hope some of you join me in crafting for the Red Scarf Project!

Saturday, July 28, 2012

Bottlecap magnets

Another craft post, since Aaron and the girls are out of town so I don't have adventures and cute pics to share.

At CONvergence, one of the crafts they did in the kids' area was making necklaces out of bottlecaps. It was pretty cool and something I thought we could replicate at home. But as I didn't want to drill tiny holes in the bottlecaps for the jump rings, we did magnets instead!


(Yes that is a Halloween-themed tablecloth. It was what we had that was plastic, and I was pretty sure that things were going to get messy!)

I used a 1" hole punch to get circles that fit perfectly inside the bottlecaps. (I got a whole bunch of bottlecaps for free from the Rusty Taco, which sells bottles of Jarritos and Mexican Coke. They let me just scoop them out of the little collection box. They weren't perfectly flat but they worked just fine. We just needed to wash them!) Then I brushed on some Mod Podge and the girls filled in the circles with beads and sequins.


We used all kinds of beads, both regular little seed beads and some larger shaped ones. We also had snowflake-shaped sequins as well as regular colorful circle ones.

When the girls had their bottlecaps the way they wanted them, we filled in the caps with this crazy stuff called Mod Podge Dimensional Magic, and let them dry for 24 hours. The Dimensional Magic dries clear and holds everything together... it was super easy!


The only thing I didn't care for was that reviews online suggested that it would not shrink down as it dried, and it totally did. It shrank sort of weirdly, too, and some bubbles seemed to appear when I was super careful to pop any bubbles before we let them dry. So it wasn't the exact effect I was looking for. But still, it worked just fine to hold everything together.

Once the Dimensional Magic dried, I used rubber cement to glue 3/4" magnets on the back of the caps.


The rubber cement may have been overkill - the magnets were actually adhesive. But I wasn't confident that the adhesive would be strong enough, because some of the caps were really very full of beads.

So once that dried, voila! Final product:


The girls are super proud of them! They like to play with them on the fridge, and also gave some to beloved neighbor Beth for her birthday.

I think they look great! I will say that the ones that the girls did that are completely full of beads and sequins look way better than the ones I did that were a little more sparing with the decoration. So, lesson learned: this is a craft for making over-the-top decoration.

It was fun and definitely something we'll repeat!

Monday, July 09, 2012

Easy DIY Cape

So as I said, we spent the weekend at CONvergence. A big part of the scene there is costuming, as you could probably tell from a few of the pictures I posted. Because the theme was Wonder Women, I decided that the girls needed capes. But because I decided this at the last minute - like, on Thursday morning, the day the Con began - I needed a quick & easy, no-sew DIY cape. Here's what I came up with!

First, I stole an old t-shirt from Aaron that he doesn't wear any more.
I turned it inside out and drew my cape pattern on there. I did the wider part at the bottom, along the hem, and the skinny part at the top. Then I cut it out, keeping the shirt's collar attached, and snipped the collar in the middle to create the ties.

We ran to Michael's and picked out iron-ons to decorate the cape, and we were done! Easy-peasy, no sew, upcycled kids' capes.

Back view:

And a front view of Baby Panda Superhero, showing the tie around the neck:
I did make capes for both girls. Maisie opted not to wear hers, instead dressing like a ballerina (Thursday), a sun princess (Friday), and some other kind of princess (Sunday). But Ella wore hers all weekend, and ran around saying "Me a SUPERHERO!!!" which delighted just about everyone who saw her.

Monday, July 02, 2012

These are a few of our favorite things

Strawberries...
These are from our garden. I attempted a pectin-free jam, but it didn't set. So they became strawberry sauce that's really yummy over ice cream.

Cupcakes...
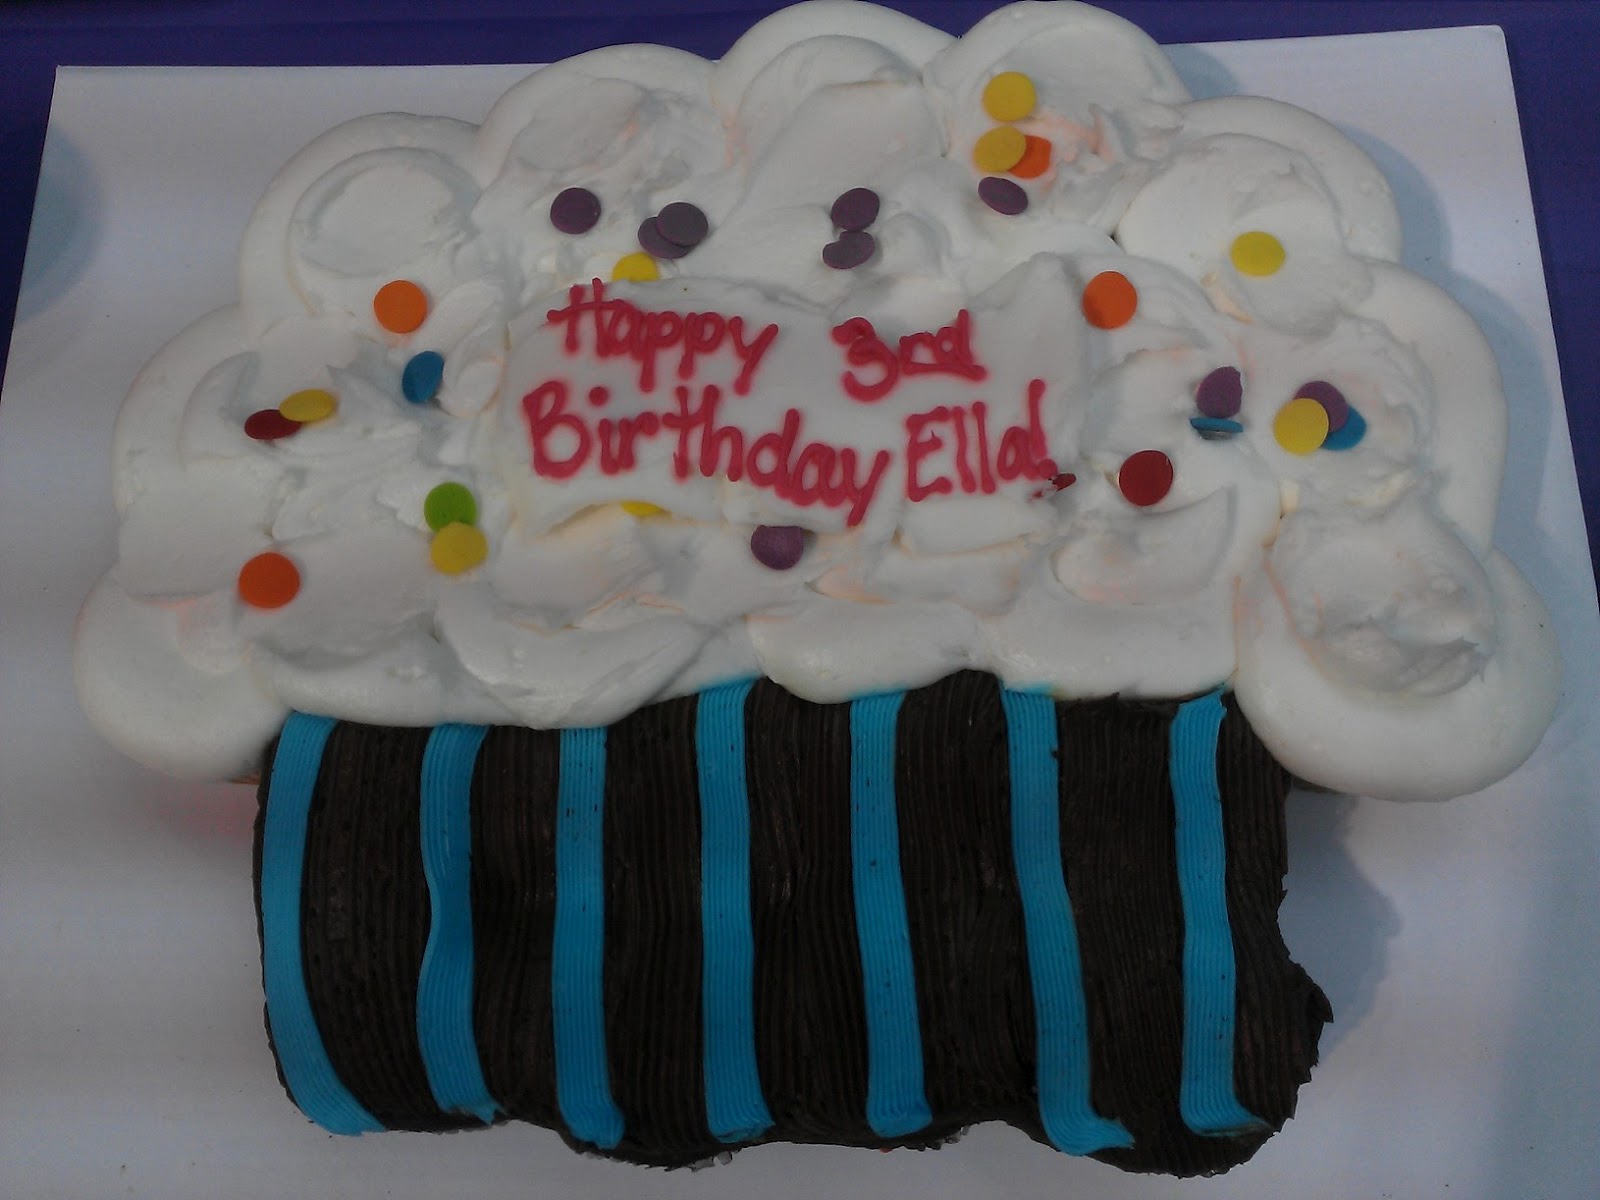
Especially 24 cupcakes that are covered in a ton of frosting and smooshed together to make one GIANT cupcake!

Orange soda...
at the movies, with cousin Maya.

Strawberry soda...
and ice cream...
both on the patio on a beautiful evening at Pizza Luce, the girls' favorite pizza restaurant.

Apple pie and chocolate milk...
at the coffee shop with toys - you can see the toy room in the background. It also has great coffee and free wi-fi. It's a family favorite.

And finally, raspberries...
2-3 cups of them picked from our neighbor Beth's canes with the intent of making jam... but somehow none of them made it home!

Monday, April 23, 2012

Crafty project

Last week I picked up a cute little sundress for Maisie - pale pink with a twirly skirt. She liked it, but thought it was kind of plain. Yesterday, during Ella's nap, we decorated it with freezer paper stencils!

Freezer paper stencilry is a really easy and fun project, I think. The paper is waxed on one side. You use an Exacto to cut out your stencil, and then iron it on to your fabric, wax-side down. The wax adheres and keeps the paint from bleeding over the edges of your stencil. Wait for it to dry and then voila! Stencilry complete. Maisie wanted a butterfly and a flower on her dress, so here's the pattern I used.
While I cut out the stencils, she chose the colors: blue for the flower, with gold sparkles, and green stem/leaves. We did the flower first, on the skirt.
Maisie did a great job painting; she was really careful with it, making sure that the green and the blue didn't overlap.
Once the flower was painted, we waited for it to dry so we could take the paper off and place the stencil for the butterfly.
It didn't take too long to dry, and we were ready to go again! For the butterfly, Maisie chose to paint it monarch-style: black body, orange wings with black stripes, and iridescent sparkles.
Finished product! Close up of the flower:
The butterfly:
And the whole thing:
I left for work before Maisie got up this morning, so I don't have a picture of her wearing the dress. But I'm sure it'll be cute as can be. And even more importantly, Maisie was so proud of her creation! I'm glad that she enjoys crafty projects as much as I do. It can be so rewarding to do it yourself!

Monday, September 20, 2010

Farmer's Market

Last Saturday, Maisie, Aaron, Gramma Liisa, and Dylan went bowling at the Bryant-Lake Bowl. Ellie and I thought about going too, but decided that perhaps a tightly crowded restaurant/bowling alley/cabaret theater isn't the best place to take an antsy toddler with more mobility than sense. So instead, she and I decided to go to the Midtown Farmer's Market.

I was planning on picking up apples for making applesauce, so I made sure she was wearing the apple hat her Grandma Jo made. I also wanted tomatoes for canning. But Ella was enamored of these beautiful winter squash called Sunset...

So we had to get one of those first.

We did stop by the awesome local apple orchard table and bought a whole lot of apples, which Ella also got excited about.

Maybe it's just that she really likes applesauce!

After we got over our joy about the apples and squash, we were able to listen to the Danish folk music that was being played, which Ella also really enjoyed.

It was a chilly morning, but very fun.

Monday, November 16, 2009

Thank you

Maisie and I had a very crafty weekend! I love being able to do these kind of projects with her.

On Saturday, we made thank you cards (somewhat belatedly) for her birthday gifts.

As you can see, this is serious work. Maisie loves doing "stamping work" and really enjoyed the activity - she chose the cards, the stamp, and the stickers.

I think they turned out beautifully.


Her hands, though, were a different matter....

(and yes, that's a big ink splotch on her upper lip!)

We also had a crafty Sunday, but that'll have to wait for the next post.

Right now we need to say WELCOME! to Maisie and Ella's new cousins Sullivan and Ryley!! and yay for their mommies and daddies. We can't wait to meet you two!!

Tuesday, October 27, 2009

Photography by Maisie

One of Maisie's favorite things to do is taking pictures with our digital camera. We usually end up with lots of pictures of her toes and tummy, but recently she seems to have gotten the hang of it. Here's some examples of her recent work.


Monday, October 12, 2009

Portrait of mommy

Maisie drew this in school the other day.

It's a picture of me! I'm pretty impressed with her drawing skills, for someone not quite 3 years old. She was very proud of it, too. She pointed to the mouth and said, "That your teeth, Mama!"

Saturday, September 26, 2009

Tomato sauce

My canning adventures continued today while the girls took their afternoon naps. We'd built up a backlog of tomatoes from the past few weeks' CSA deliveries, so I decided to make and can some tomato sauce.

First I blanched and peeled the tomatoes.

This was kind of gross, because they were somewhat slimy underneath their skins. But also fun, because they were somewhat slimy! And look, naked tomatoes! I was surprised at just how easily the skins came right off. I had considered skipping this step and pureeing them with a food mill, which would keep the skins out, but I'm glad I did it this way... much easier.

Then, I cored, seeded and chopped them.

At this point I started to get a little concerned. I thought I had sooooo many tomatoes when they were rolling around in my fridge. But suddenly, hmmm... not so much.

Next, I threw them in a pot and started cooking.

As they cooked I mashed them up with a potato masher. I also had garlic, onion, and green pepper in there, along with the tomato and spices, even though the recipe in my canning book called for carrot instead of green pepper. This was kind of scary to me, because my canning book warned me that if I deviated from their recipe even one little bit, my lovingly crafted tomato sauce will kill my family with botulism!!!!

So even though the University of Minnesota Extension said I don't have to (because I'm using locally grown tomatoes, and my sauce is at least 3/4 tomato), I added 1 Tbsp of lemon juice to each jar. Just to be on the safe side.

After the filled jars spent 35 minutes in boiling water, the canning was finally done! All that effort yielded me...

TWO PINTS of sauce. You may be thinking to yourself, gosh that seems like a lot of work for just two pints of tomato sauce! And yes, I would have to agree with that. I now get why people do these kind of things in giant batches, and why my recipes tend to call for 10 lbs of tomatoes. I don't think it would've been that much more work to do 5x as much sauce. So, lesson learned... but the two pints do make a nice addition to the growing collection of canned food down in the basement!